By now we’ve all seen the “grilling boom” with the rise of pellet grills, electric smokers, charcoal grills, and stick burners. While some of these are quite old, showing off your latest grill with your most recent steak on Facebook or Instagram gets you all street cred you need. However, just because it looks good on the outside doesn’t mean it’s always cooked to perfection on the inside. We’re here to help you with that with our very own smoked brisket recipe.
Selection
No matter the grill of choice, the approach and preparation is more or less the same. Let’s begin with brisket selection. You’ll want to pick a prime grade brisket to ensure the best quality. Also, you need to find one that has good fat marbling in the flat section, since the point almost always has it. This may be difficult, but try to find one that’s even all the way across to avoid having one side of the brisket finish before the other. It doesn’t have to be exact, but the closer the better.
Preparation
Once you have your brisket selected, you are ready to begin trimming it down. You’ll want to trim the fat cap down to a 1/4 inch, be careful not to go too far and expose any of the red meat as this will cause it to dry out during cooking. On the opposite side, most people will recommend to completely remove all fat. You’ll need to certainly remove the obvious larger pieces, but I wouldn’t recommend removing it all. Let it stay and render out, you’ll thank me later. However, you will want to remove the “silver skin” on this side. Lastly, right where the point meets the flat, you’ll notice a huge chunk of fat. Trim into this a bit as well, but be careful not to remove too much.
Now it’s almost time to put the rub on the brisket. Here’s where a lot of the flavor begins. We prefer to select sugar free, natural spices as you will find there is no need for sugar with this blend. The only advantage to sugar for a rub or spritz is having it crystalize the bark. While this is very true and it absolutely will provide a great bark, it’s simply unnecessary, we’ll give you an alternative below.
You’ll notice salt is missing from the rub. We strongly recommend applying the salt to the brisket after it is trimmed and letting it rest in the fridge for at least a day before cooking. The reason being the salt is the only part of the rub to actually penetrate the brisket. It will draw out a lot of the moisture, then reabsorb it as it sits. Definitely not something you want to happen while cooking. After the brisket has been sitting, it is time to apply the rub.
Brisket Recipe – The Rub
- 2 Tbsp Paprika
- 2 1/2 Tbsp Black pepper
- 2 Tbsp Garlic powder
- 1 Tbsp Onion powder
- 1/2 Tsp Cayenne powder
- 1/2 Tbsp Mexican oregano
- 1 Tsp Cumin
- 3 Tbsp Organic yellow mustard
Before you apply the rub, you need to cover it in the mustard to serve as a binder for the rest of the rub. Most of it will be heavily caked on there, so the mustard serves as a glue to hold it all together.
The Cook
Low and slow is the name of the game here. Set your grill to 200 – 225 degrees. Place your brisket on (fat cap down) and let it go! Be prepared to let it cook anywhere from 10-16 hours. Many people suggest wrapping the brisket, but we find this makes the bark quite soft. That being said, we do not recommend wrapping. Spritz the brisket with pickle juice every hour. Yes you read that correctly, it will help develop the bark tremendously as opposed to sugary alternatives.
After roughly 7 hours, you can begin probing the brisket to check the temperature. No need to probe before then. This next part is very important: The brisket is done when it is probe tender!! That means the temperature probe can insert into the brisket with no resistance like a knife through butter. This can happen anywhere from 190 – 230 degrees! If you pull it off early, it will be dry without question. Be patient!
The Finish
Once the brisket in probe tender, you are ready to pull it off the grill and finish. Finally, you’ll want to wrap the brisket with butcher paper and towels and put it into a cooler for at least two hours. Again, be patient! The brisket needs time to rest and reabsorb everything, any earlier will likely drain the brisket of moisture and ruin hours of work.
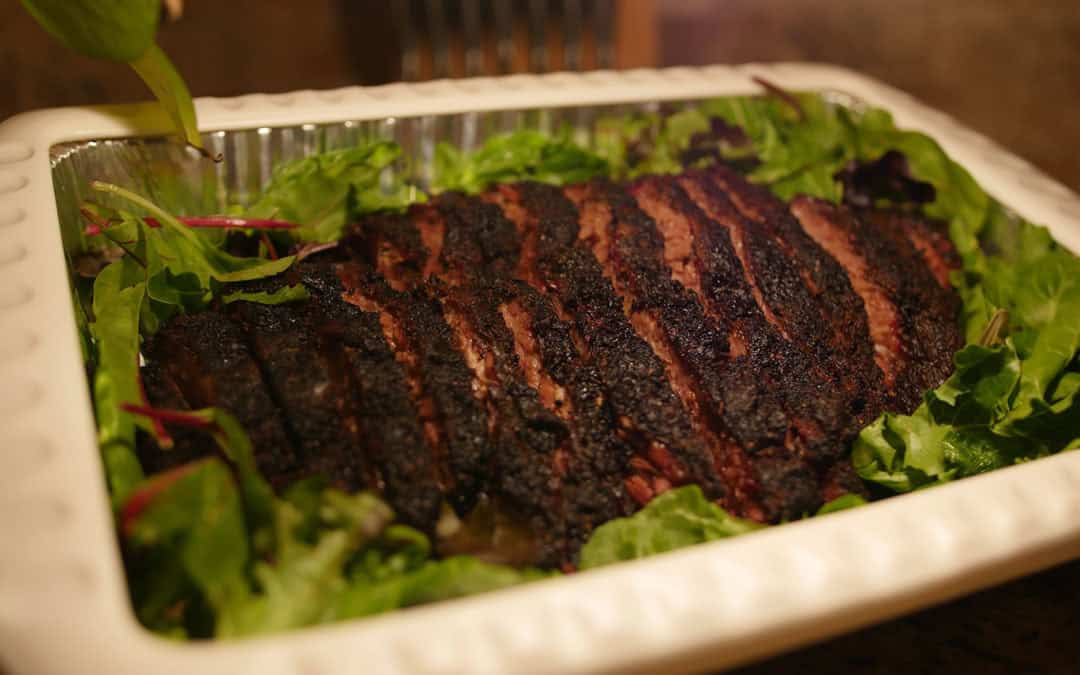
After the resting period, it’s time to cut. You need to cut against the grain so it can maintain uniformity and retain the moisture. Start with the flat. Once you reach the point, turn the brisket 90 degrees so you are cutting vertically, and finish it off.
That’s a wrap! Be sure to place the brisket into Foil Decor so it can hold the temperature whether you’re bringing it to a event or hosting a cookout and also give yourself some credit after spending hours cooking it. If you’re going to invest that much time into the cook, make sure you present it properly! Leave a comment with your thoughts or share the blog to your favorite page for the best brisket recipe out there!
Recent Comments